Every year I face the challenge of deciding which tomatoes to plant—some for sauce, some for fresh eating, and some for freeze-drying.
Once I’ve made my choices, I usually order seeds in December, when my excitement for gardening season returns. This year I plan to
start seeds around March 20th. Last year I planted on March 3rd, which proved too early; the seedlings grew too large before it was time
to harden them off and transplant.
I begin by making ¾-inch soil blocks in a lunch tray and typically use a heat mat to encourage germination. The seeds grow under 4-foot
LED grow lights positioned about a foot above them. With the heat mat, germination takes 5–10 days. Once seedlings develop two sets
of true leaves, I transfer them into 2-inch soil blocks until they’re ready for outdoor planting. This year, however, I’ll experiment with
2.5-inch pots to see how they perform.
I always bottom-water and fertilize at every watering with Bonide Houseplant Liquid Plant Food (10-10-10). Around May 1st, I move the tables
holding the plants into the garage. Each morning the tables go outside, then return in the early evening. During the first few days, I expose
them only for a few hours on cloudy days, gradually increasing their time outdoors until they can handle full sun after the first week.
After that, I am ready to plant. Start by stripping the leaves and branches almost to the top. I give it a few days after that for the wounds to heal.
Then lay the pland down and bury the stalk with just the top of the plant sticking up. This will develop a better root system as roots will grow
from the buried stalk. I then sprinkle Osmocote before covering. 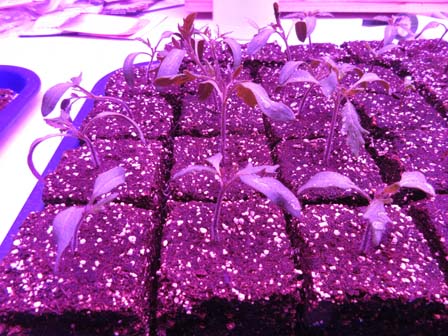

Seedlings have sprouted Starting to look like tomato plants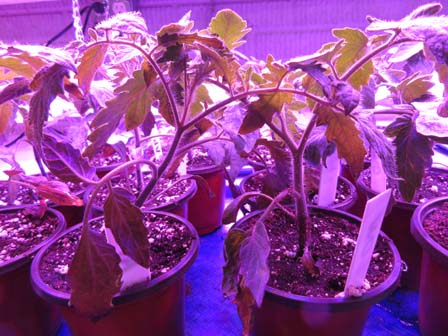
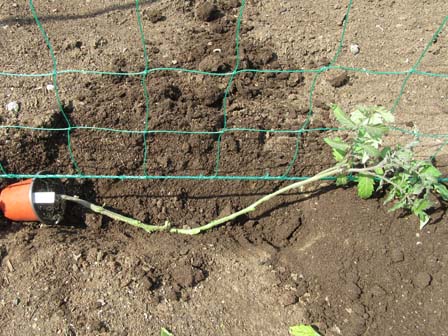
Almost ready to plant Strip branches almost to top and bury stalk 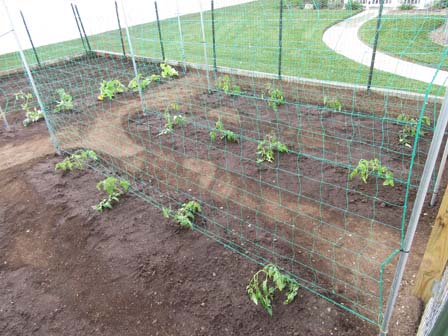
I use netting for the tomatoes to grow up Bottom branches trimmed.
As the plants begin to grow, I secure them to the netting with rubber wire ties purchased by the roll. I avoid using cages for indeterminate
(vine-type) tomatoes, since the plants grow too tall and often topple them. Cages, however, work well for determinate (bush-type) varieties.
To reduce the risk of soil-borne diseases, I trim off any branches that touch the ground up to the first blossoms. As growth continues,
I also remove the suckers—small shoots that appear between the plant’s main stem and a branch. (See below left)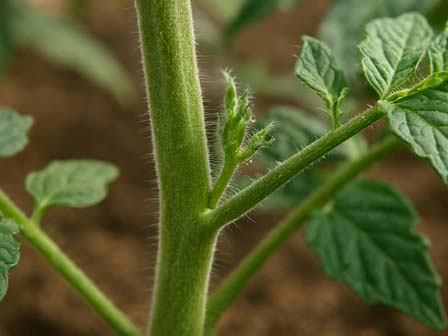
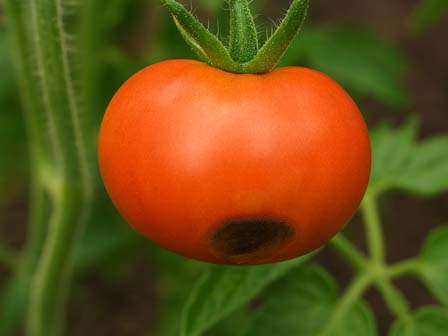
Image of a sucker Blossom end Rot
Soil chemistry is just as important. Getting your soil tested makes a big difference. I sent mine to a lab and found that the results
were close to what my four-prong soil tester had shown. I had been struggling with Tomato blossom end rot. See image above)
Everything online says it’s caused by a lack of calcium, so I tried all kinds of calcium products—but nothing helped. What most
sources don’t mention is that if your soil pH isn’t correct, plants can’t absorb the calcium they need.
Tomatoes grow best in soil with a pH between 6.0 and 6.8. For most vegetables, aiming for 6.0 to 7.0 is sufficient. If your soil pH is
too low, you can add lime. I’ve found that tilling in Sweet Peat every year tends to push mine a little high. To lower the pH, I use
elemental sulfur.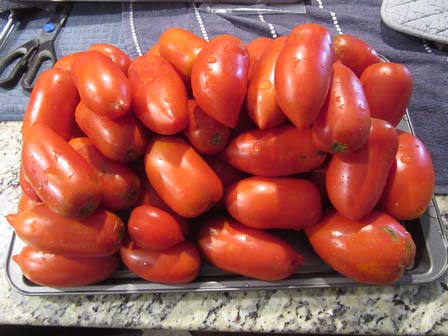
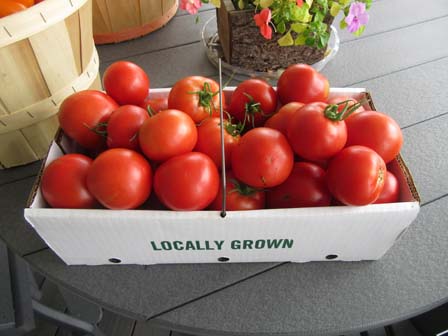
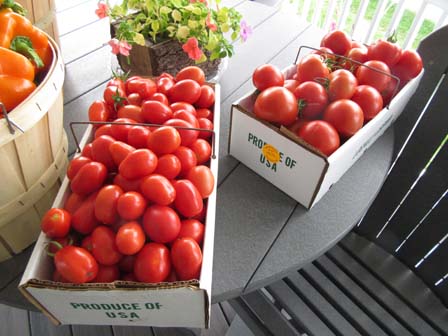
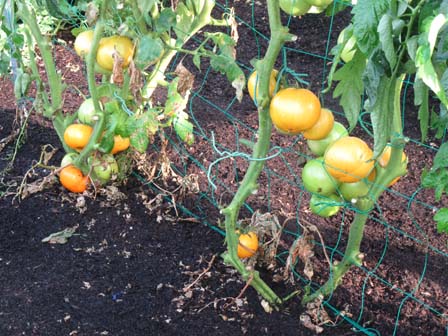
Amish Paste Big Boys
Growing tomatoes for me is always a challenge as there are so many things to watch out for. But it is worth all of the effort to
be able to feast on these beautiful fruits that the Lord has given us. I just love eating them fresh, cooking with them, drying
them. What an amazing fruit.